Additional domains
Sometimes it is needed to use multiple domains for your campaigns. Binom allows you to use unlimited number of domains with the tracker.
Domain setup
Go to your DNS service to set up a domain. There are two ways to do this:
• Add an A record and specify IP address of your server with Binom installed
• Add a CNAME record and specify your main domain in it (the main domain needs to be pointed at the server IP via the A record)
The second way is better because if your server's IP address is changed, you will not have to change it for all domains — only for the main one. After the setup DNS will start updating which takes up to 24 hours. You can check if you are all set on whatsmydns.net.
Namecheap setup guide
1. Go to your Namecheap account, then go to Domain List > Manage > Nameservers
2. In the drop-down list, select the option Namecheap BasicDNS.

3. Save the changes by clicking the checkmark icon.
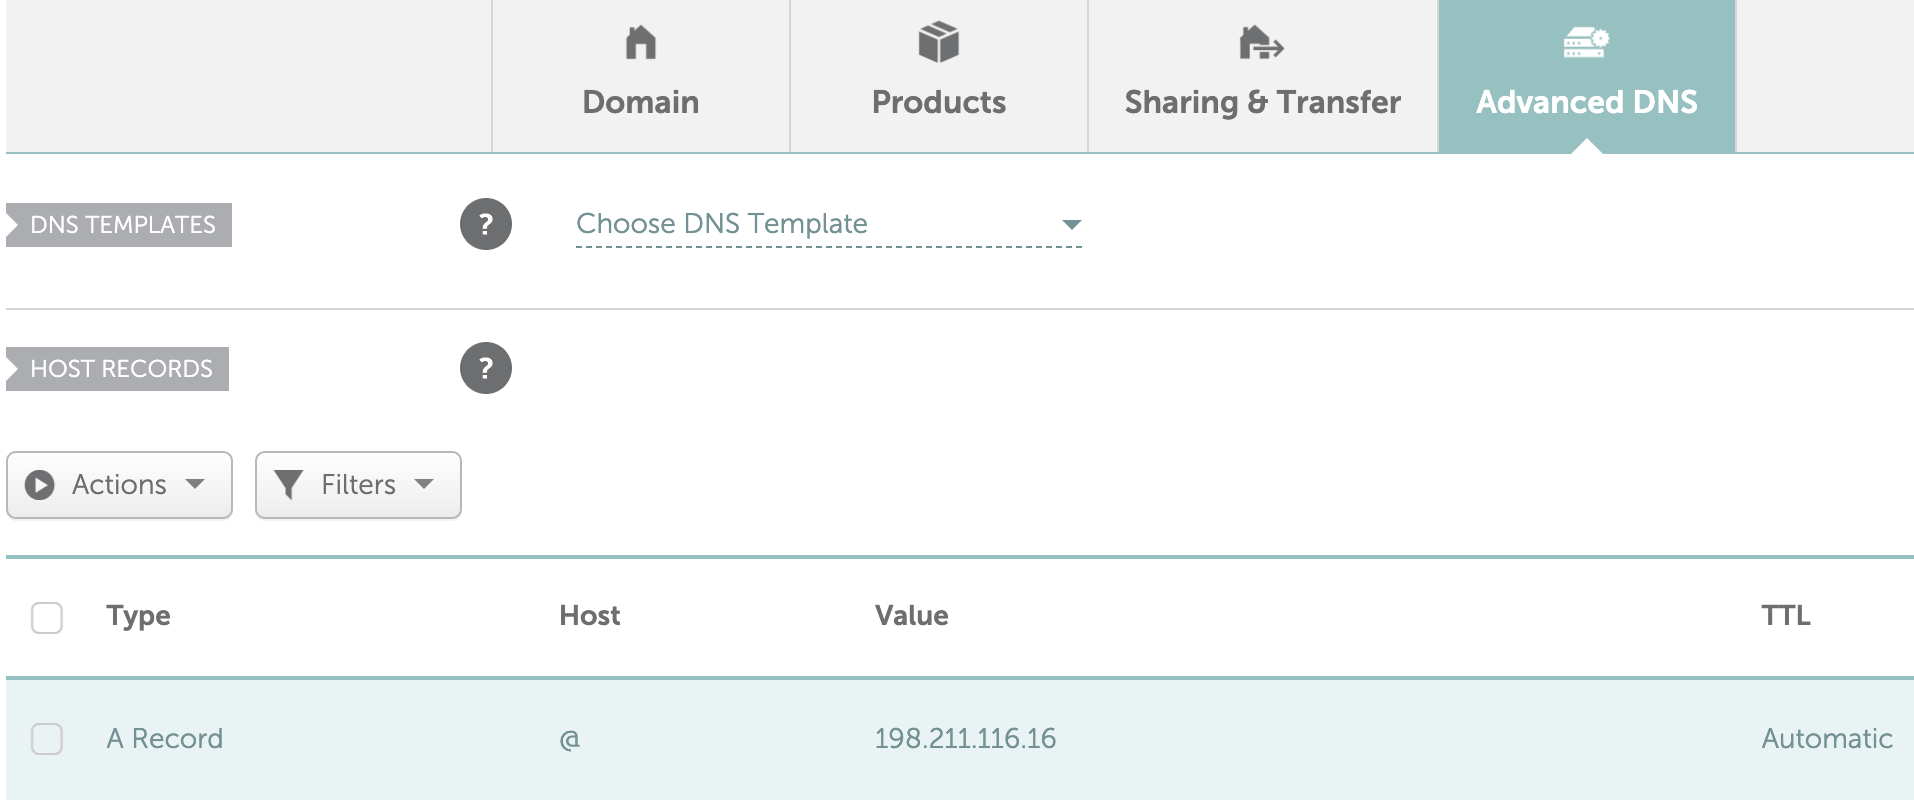
4. Go to the Advanced DNS > Host Records tab. You only need the following record:
Type: A Record | Host: @ | Value: YOUR_SERVER_IP | TTL: Automatic
Adding a domain to the tracker
To add a new domain to the tracker, go to the Domains tab, enter the name of the new domain in the field for adding new domains, and click Add new.
If you want to add multiple domains at once, you need to add each of them to this field on a new line.

Note: In contrast to Binom v1, in version v2 of the tracker, you do not need to separately add the domain with a script on the server, it is enough to add it on the Domains page in the tracker.
Connecting Cloudflare to a domain
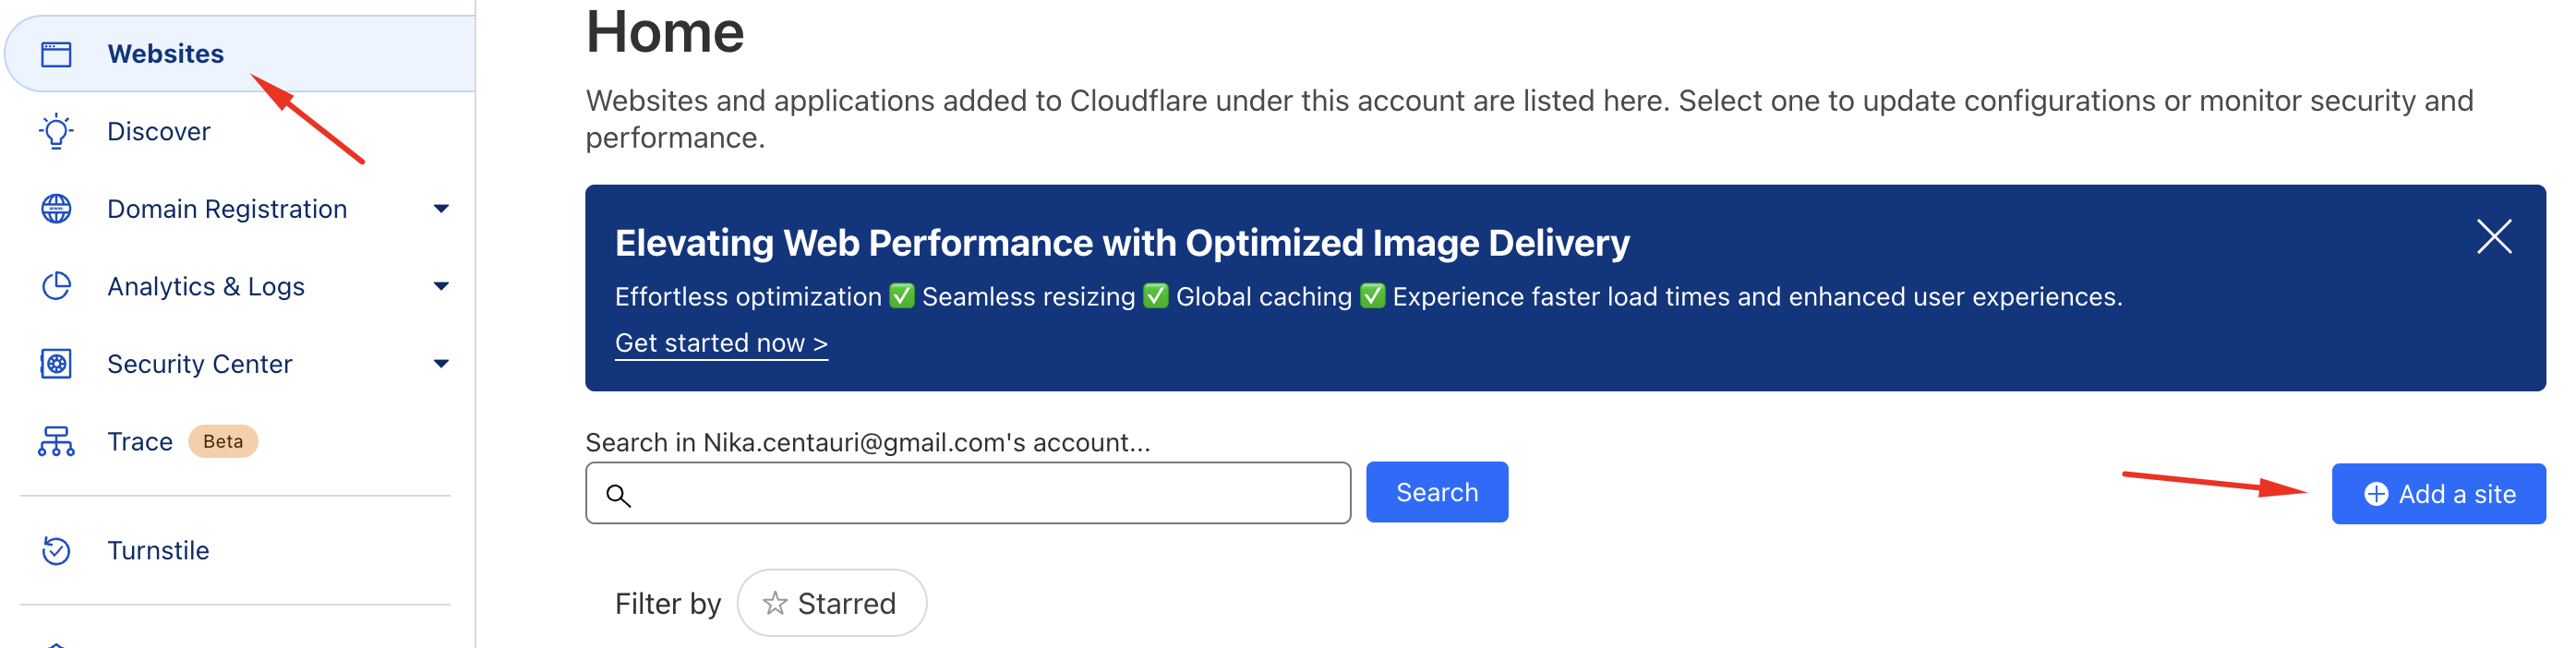
To add a new domain to Cloudflare, you first need to log in to your Cloudflare account, select Websites in the left panel, and then click the Add site button.
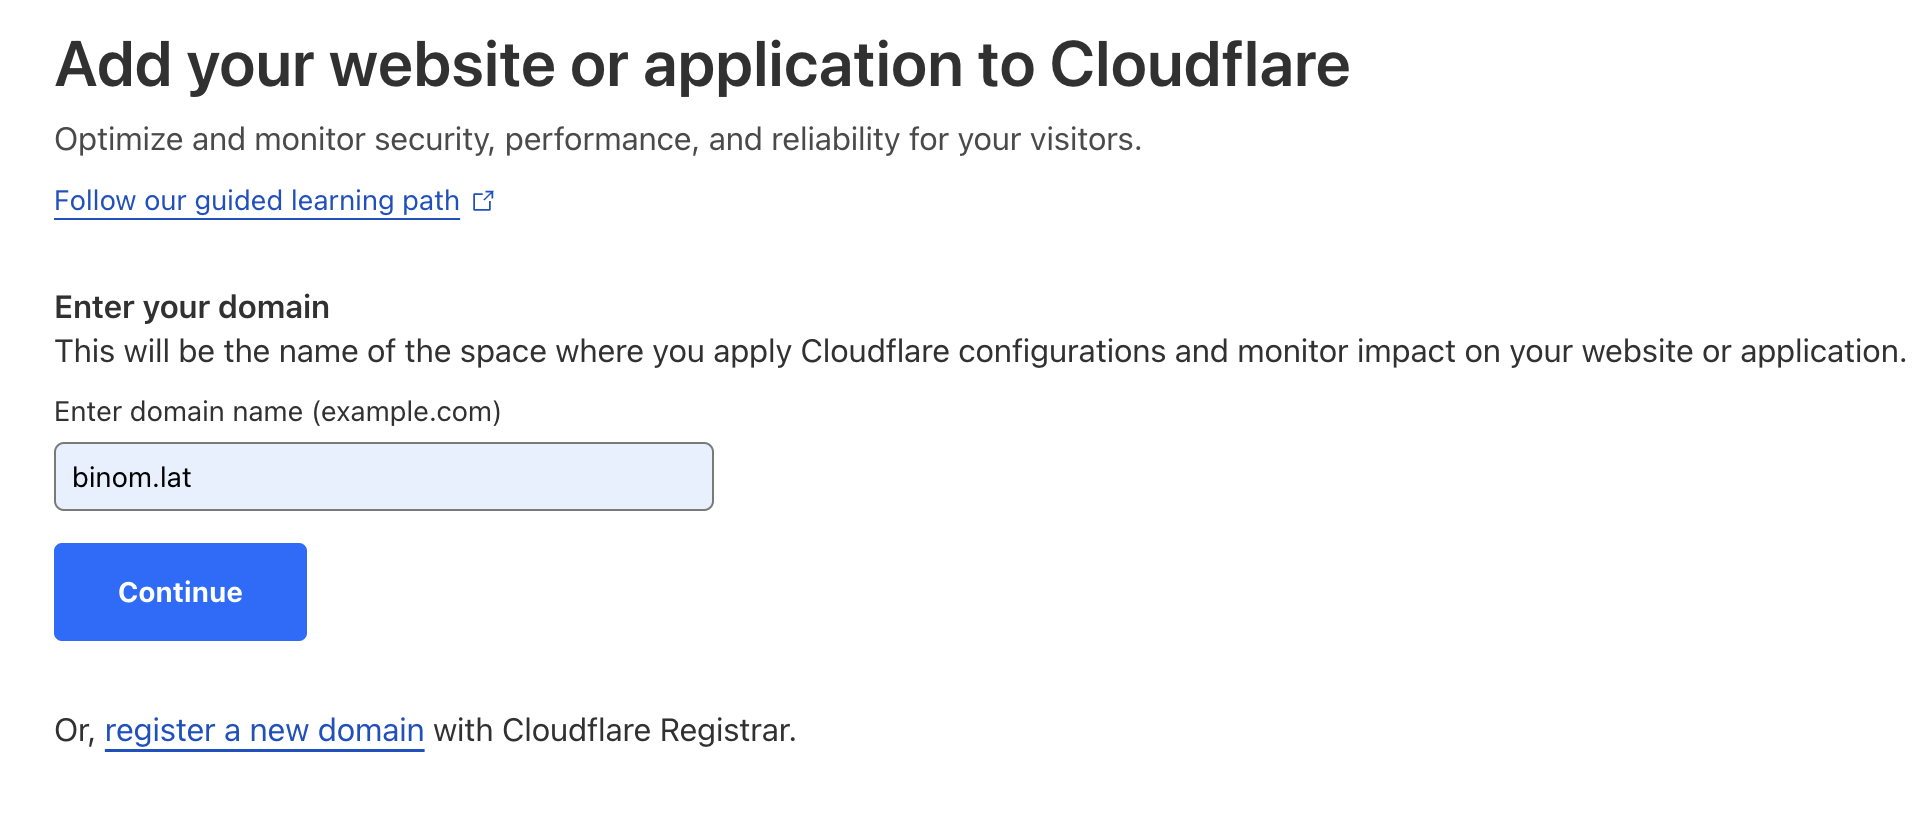
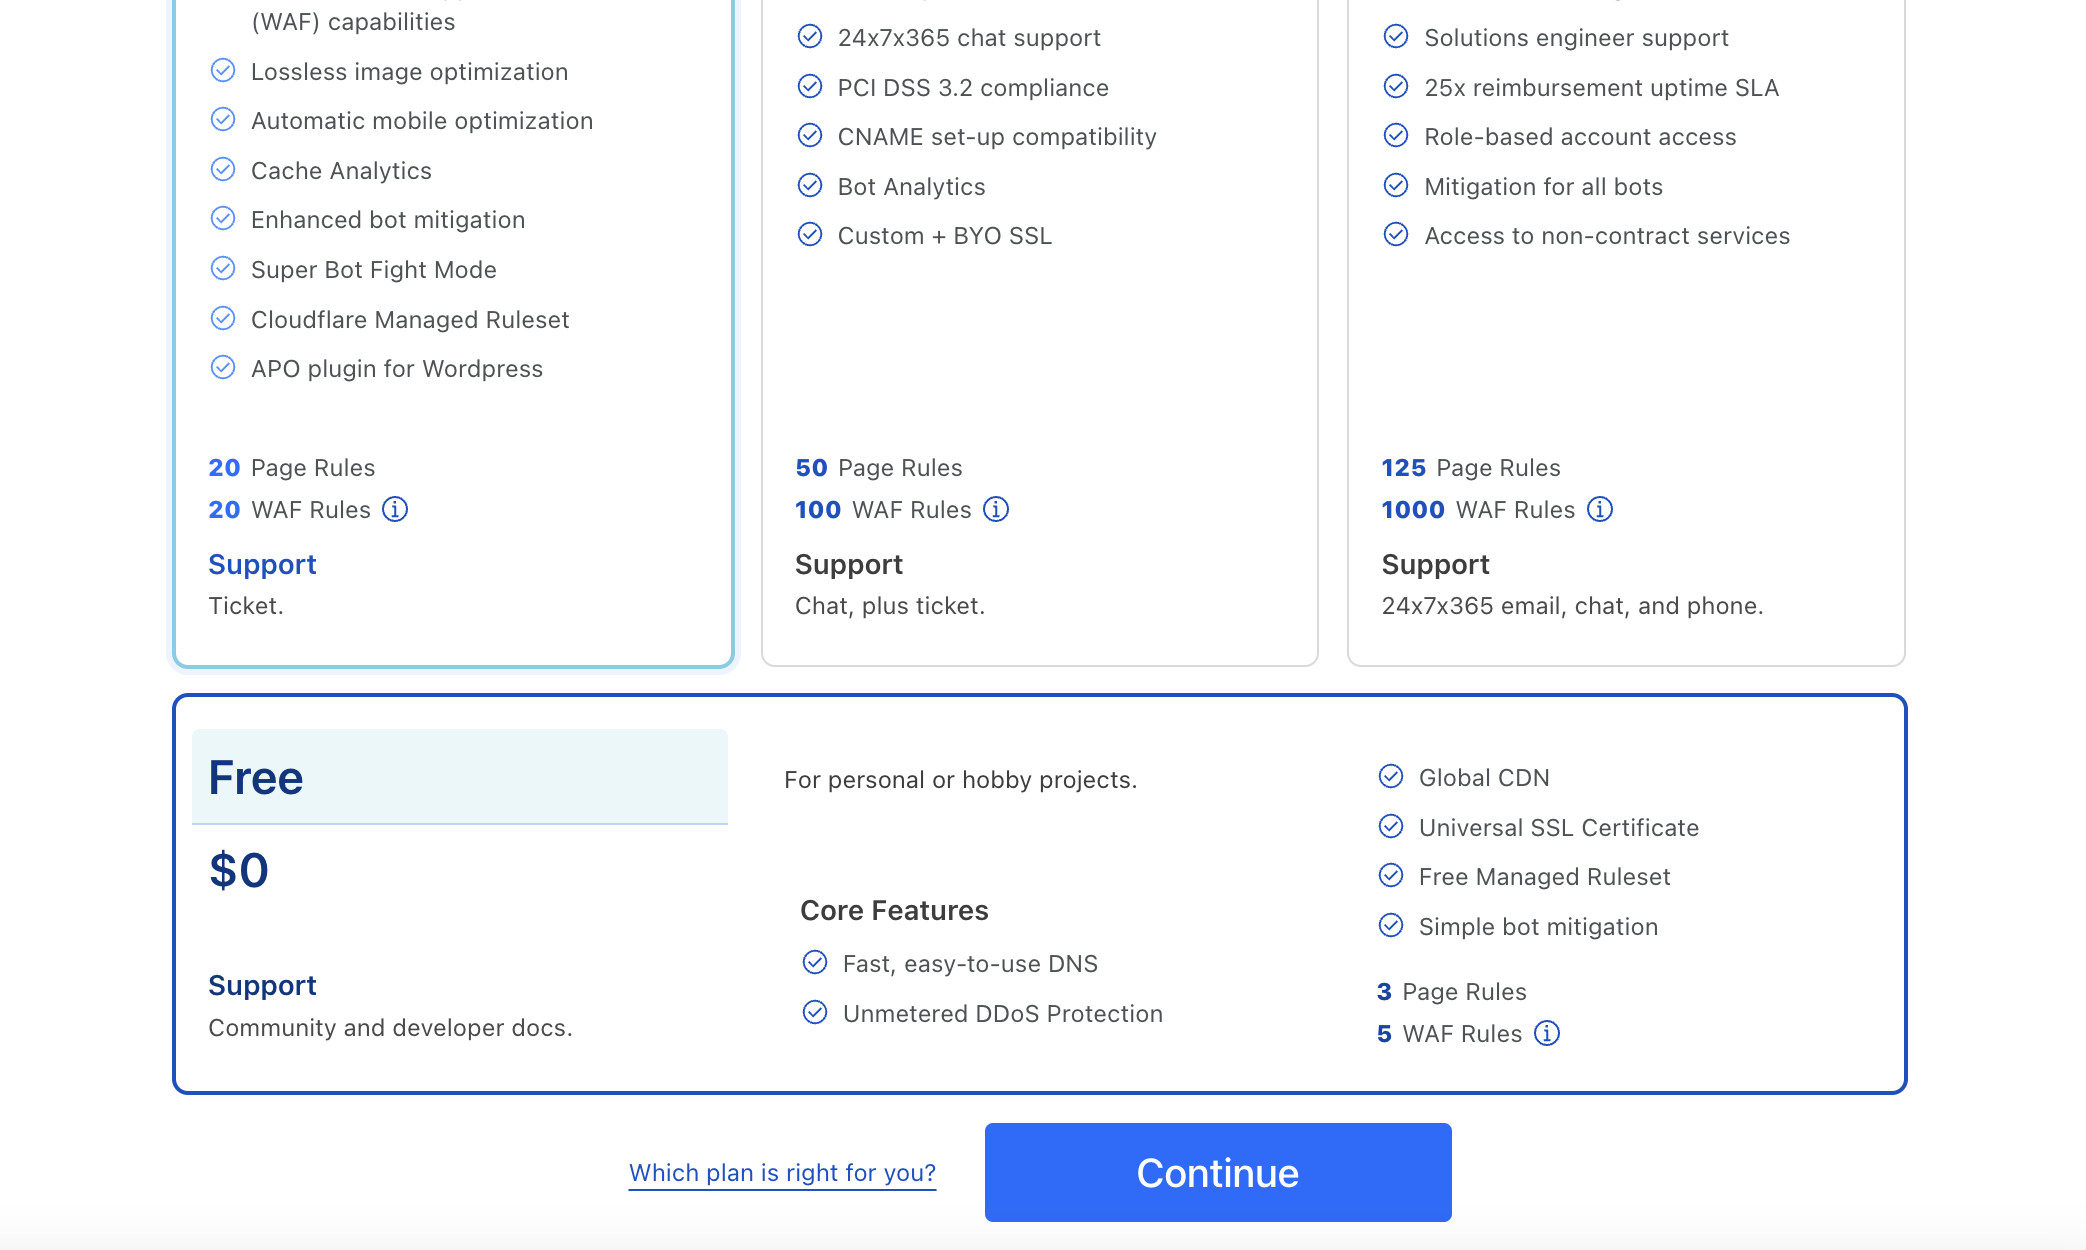
Next, enter the name of your new domain and on the next page select the Free plan.
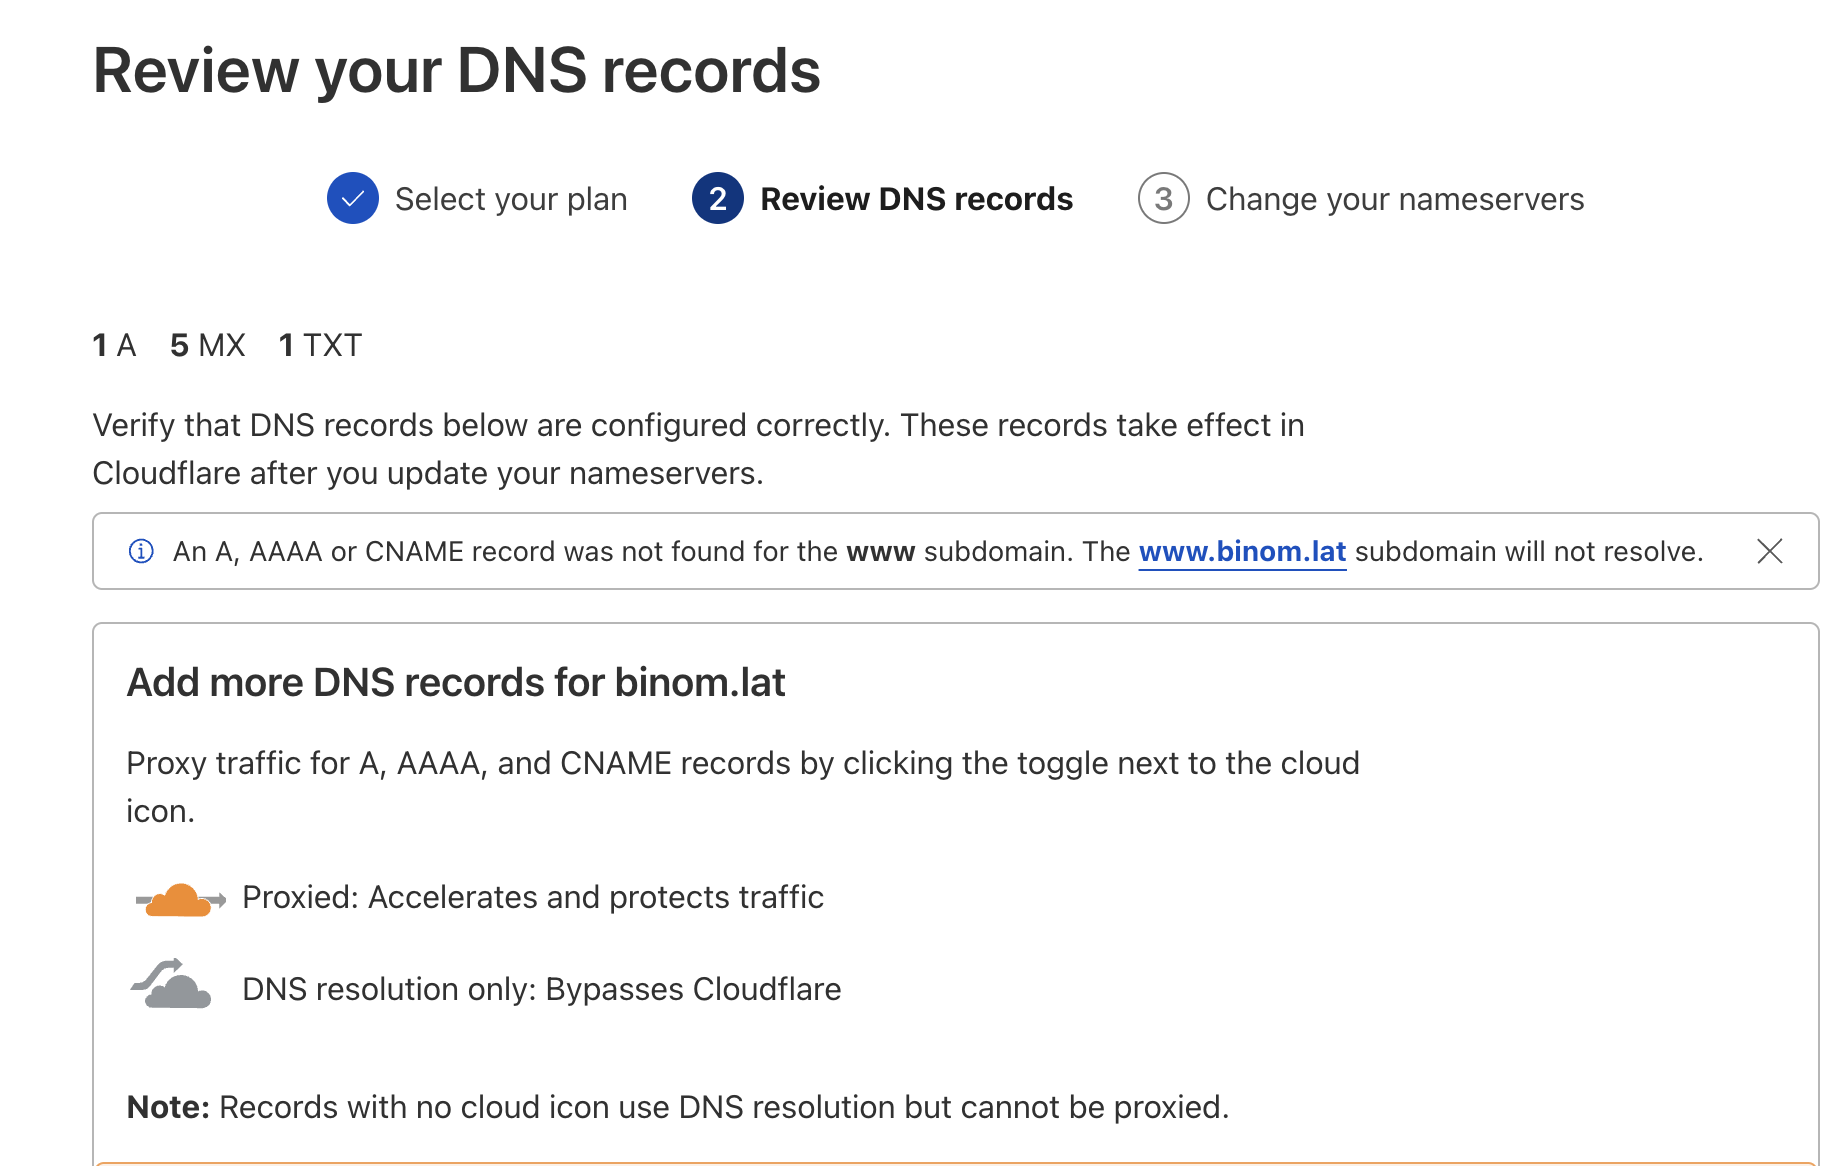
Cloudflare will then offer to check the DNS record settings. If you have already previously specified the A record in the domain registrar interface, you can skip this step.
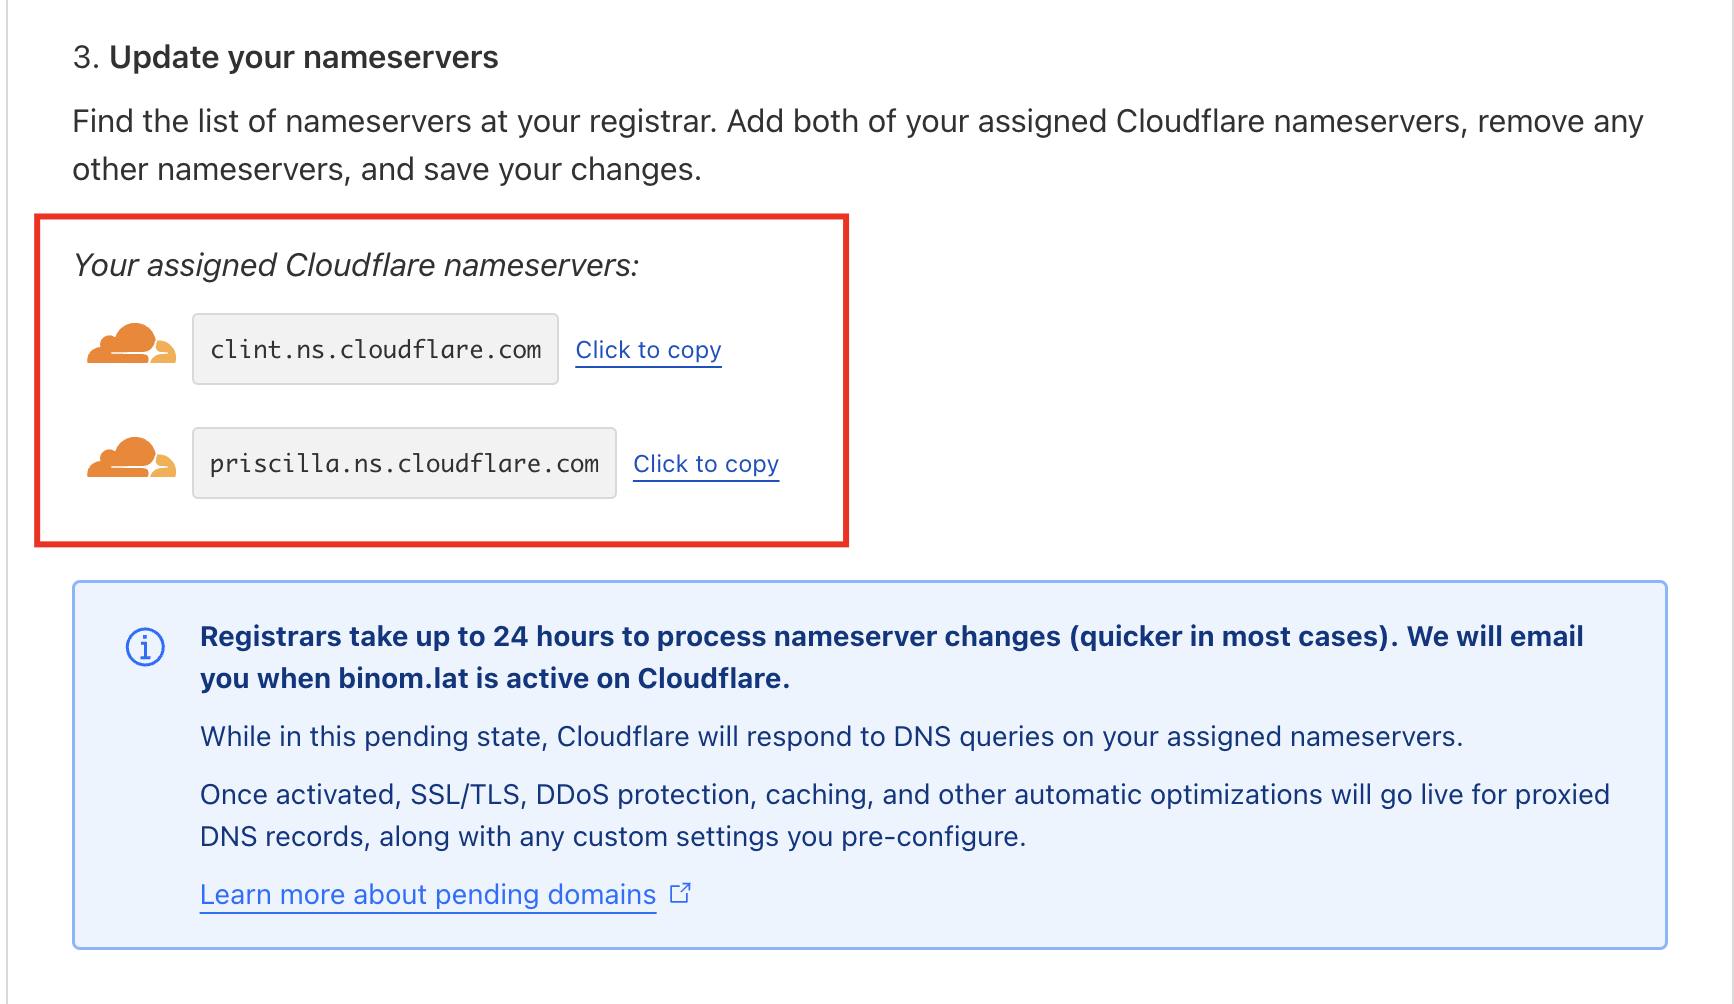
After that, on the next page, you need to copy the nameservers for your domain.
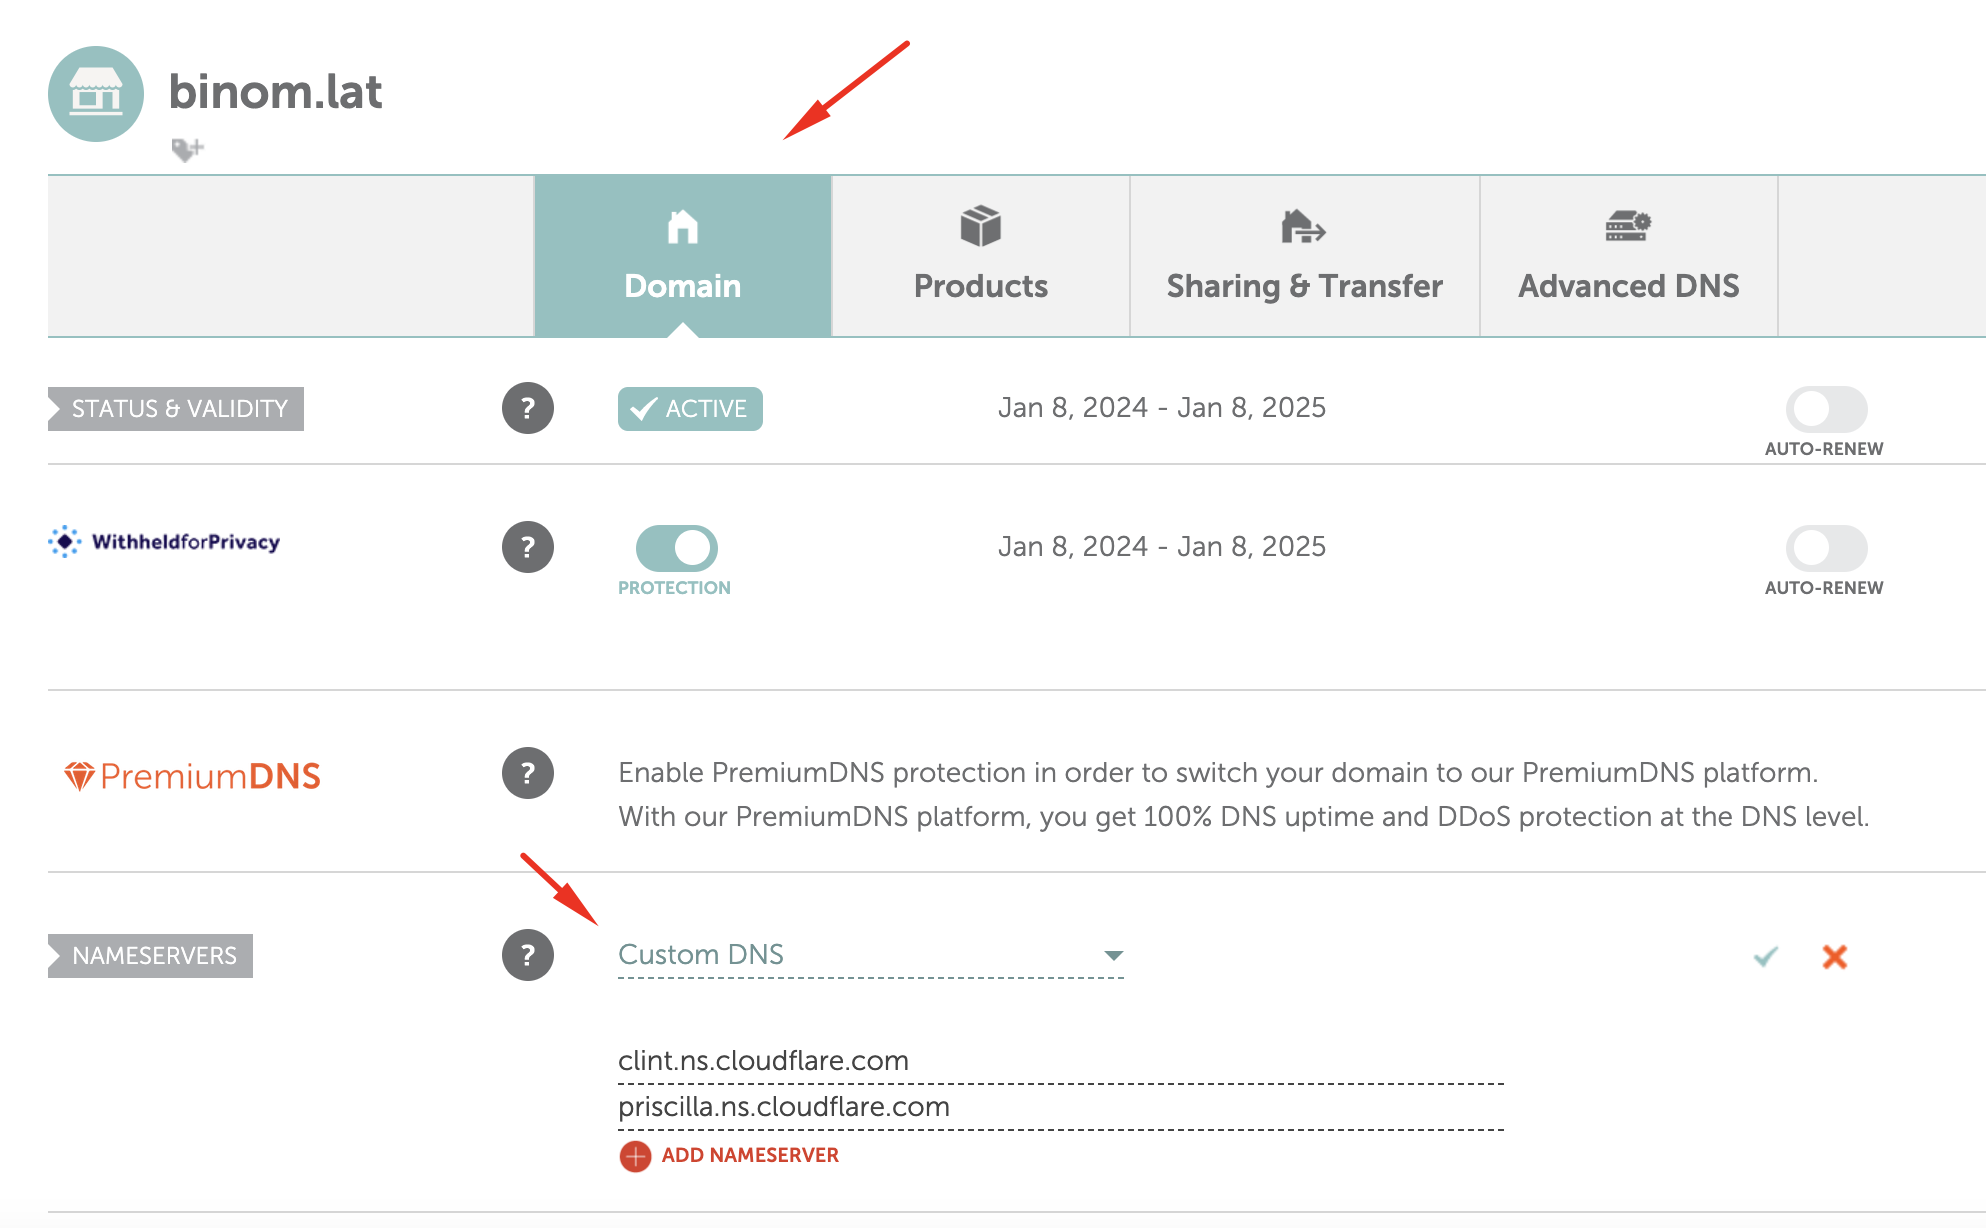
Then, the nameservers data must be set in the domain registrar interface (the screenshot shows Namecheap as an example).
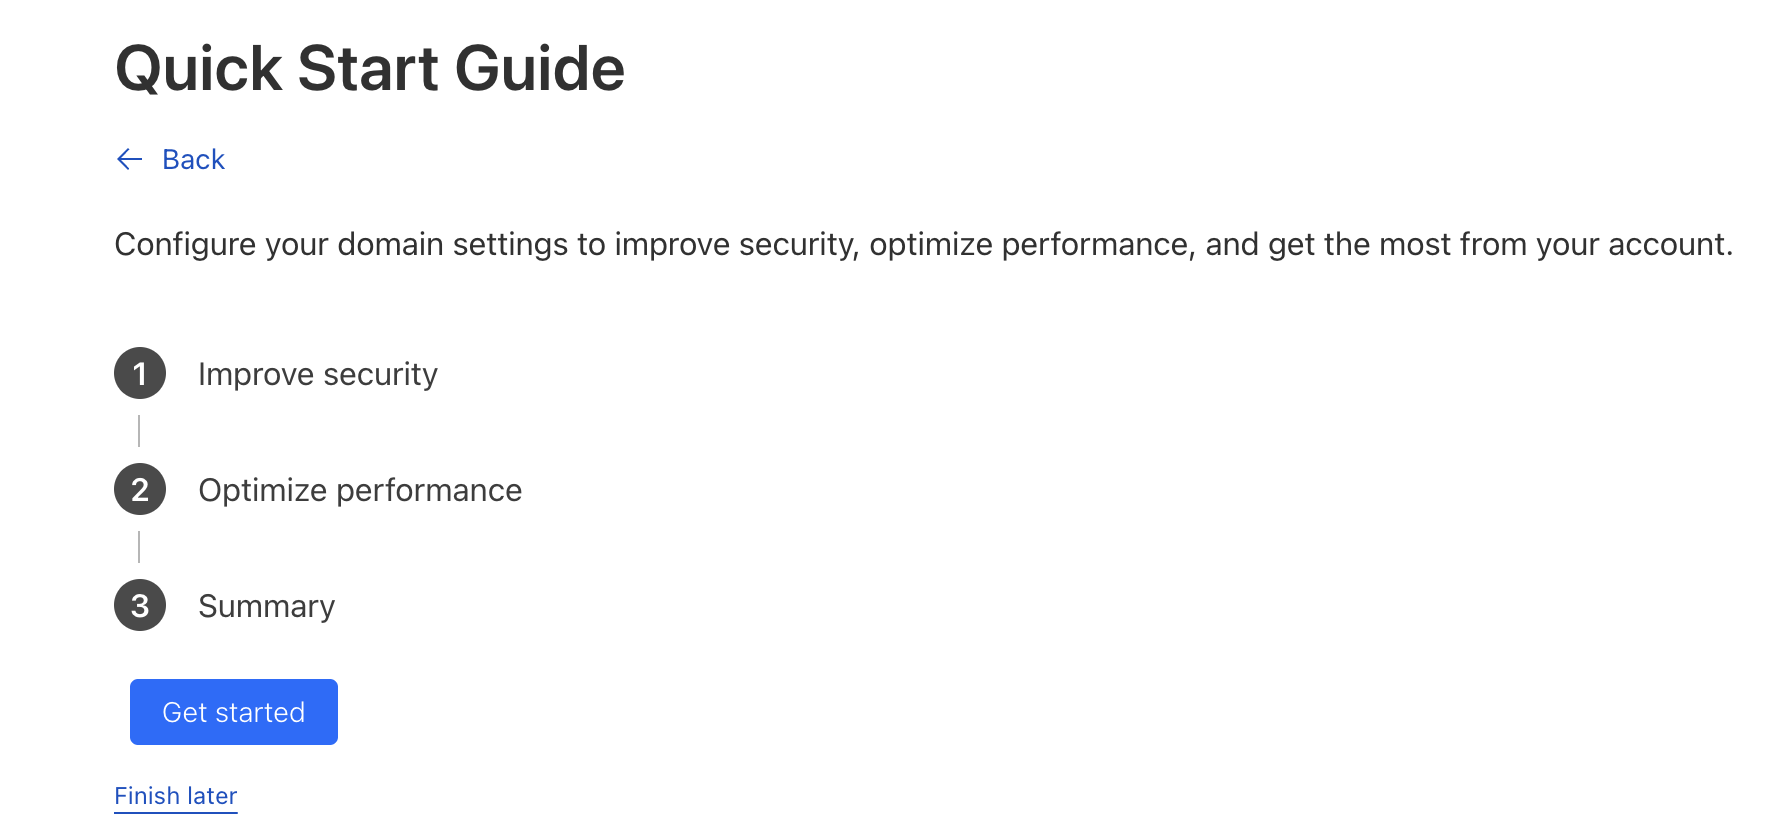
After you have saved the domain settings in the domain registrar panel, you can return to the domain create page in Cloudflare, where you will be prompted to configure the domain. Here you can choose Finish later to set the default settings.
Then, you need to wait for the nameservers to be updated. If the domain is new, this can take several hours.
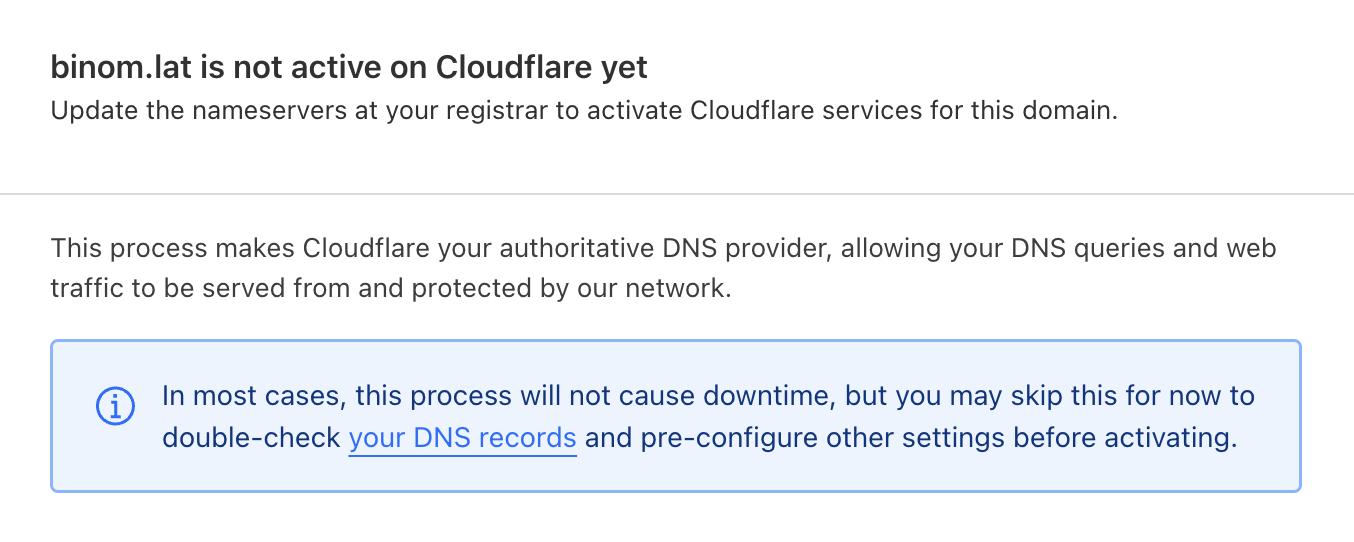
After the NS-servers update is complete, you should see in the Cloudflare panel that the domain is active and ready to use.
